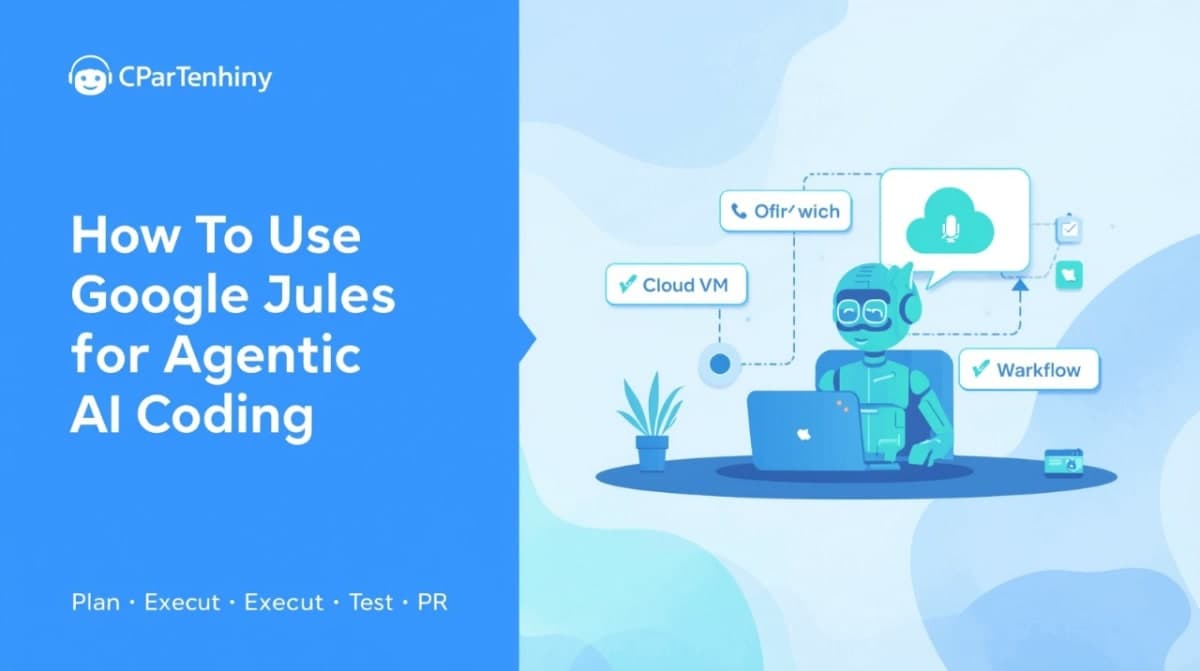
How To Use Agentic AI Coding With Google Jules (Educational Guide)
Introduction
Over the past few years, the way developers write and manage code has changed dramatically. Artificial intelligence is no longer limited to suggesting functions or autocompleting a line of code. Today, we are entering the era of agentic AI systems that can think, plan, and act on tasks with autonomy.
Google Jules is one of the most powerful examples of this new generation of tools. Unlike traditional AI assistants such as GitHub Copilot, which stay inside your editor and wait for your instructions, Jules behaves like a coding teammate. It can read your repository, understand tasks, create a plan, run code inside a virtual machine, test changes, and even open pull requests for you.
This guide will help you understand how Google Jules works, why it is different from other tools, and how you can use it effectively. The explanations are written in an educational, step-by-step style suitable for students, beginner developers, and anyone learning about agentic AI systems.
What Makes Google Jules Different?
Most AI coding tools provide suggestions or assist with small patches. They work inside your IDE and require constant human supervision.
Google Jules is different because it is:
Agentic
It does not wait for you to type; it acts independently based on your request.
Asynchronous
You can close your laptop Jules will continue working in the cloud.
Cloud-Executed
Every task runs inside a secure virtual machine, not your local computer.
GitHub-Integrated
It interacts with your repo just like a teammate:
• Reads documentation
• Creates branches
• Commits changes
• Opens pull requests
This workflow allows Jules to finish tasks you normally don’t want to spend time on, like:
fixing forgotten documentation
updating dependencies
running build/test pipelines
refactoring repetitive code
resolving minor bugs
While you focus on architecture or design, Jules handles the maintenance tasks in the background.

How Google Jules Works The Architecture Explained
Google Jules combines planning, reasoning, and automated execution. The agent is powered by Gemini 2.5 Pro, Google’s advanced reasoning model.
The full workflow includes:
Task Initialization
Environment Setup inside a cloud VM
Reasoning and Planning using Gemini
Code Generation and Test Execution
Diff Review and Explanation
Commit + Pull Request creation
Let’s break each of these stages down.
1. Task Initialization
When you describe a task such as:
Add authentication tests for login.js
Jules:
Creates a new session
Reads your project structure
Loads README, docs, or AGENTS.md
Analyzes context before doing anything
This step ensures that the agent understands what it needs to do and how your project is organized.
2. Environment Setup
Jules runs every session inside a temporary Ubuntu virtual machine. The VM includes:
Node.js
Python
Java
Rust
Go
Docker
Because the environment is isolated, your project stays safe. Once Jules finishes:
The VM is deleted
No data is stored
No dependencies leak into other sessions
This model guarantees security and reproducibility.
3. Reasoning and Planning
Before modifying your code, Jules generates a structured project plan.
A typical plan may look like:
Plan:
1. Locate login.js and analyze the authentication logic
2. Create a new test file test/login.test.js
3. Write test cases for:
   - Successful login
   - Failed login due to incorrect password
4. Run npm test to validate
5. Provide diff for review
You can approve or edit this plan.
Nothing happens to your repository until you approve.
4. Code Generation + Testing
Once the plan is approved, Jules starts working inside the VM:
edits files
writes new code
runs commands like npm install or pytest
executes tests
logs every action
You can watch its activity feed to see exactly what is happening.
5. Diff + Review
Every code change comes with:
a Git diff
an explanation for each modification
a summary of which plan step produced the change
This makes the process transparent and easy for students to understand.
6. Commit + Pull Request
Finally, Jules:
pushes a new branch
commits the code
opens a pull request for review
You remain in control. Jules only works inside branches not your main branch.
How To Get Started With Google Jules
Now let’s go through the practical steps.

Step 1: Log in and Connect GitHub
Go to jules.google
Sign in
Connect your GitHub account
Select which repositories Jules can access
Once connected, your repos and branches will appear in the dashboard.
Step 2: Write a Clear Task Prompt
The prompt is where you tell Jules what to do.
Good examples:
Fix the failing build in utils.js and provide tests.
Add TypeScript definitions for the API folder.
Refactor database.js to use async/await and update docs.
You can also attach:
screenshots
mockups
error logs
These help Jules understand the problem context.
Step 3: Review the Plan
Before executing anything, Jules shows you a detailed plan.
You can:
accept it
ask for changes
add comments
Only after approval does the agent begin execution.
Step 4: Watch Jules Work
Jules displays real-time logs:
“Installing dependencies…”
“Analyzing auth.js…”
“Running unit tests…”
“Generating diffs…”
You don’t have to stay online Jules will continue running asynchronously.
Step 5: Publish the Pull Request
When Jules finishes:
review the code
approve the diff
click Publish PR
merge into your main branch
This is especially helpful for students who want to automate repetitive tasks.
Using the Jules CLI (Command Line Tool)
Google also provides the Jules Tools CLI, giving you full control from your terminal.
Installation
npm install -g @google/jules
Login
jules login
A browser window will open for authentication.
List Repositories and Sessions
jules remote list --repo
jules remote list --session
Start a New Task
jules remote new --repo . --session "Add TypeScript definitions to utils/"
Pull Results
jules remote pull --session 123456
Launch the Terminal UI
julesThis shows a minimal dashboard inside your terminal.
Plans, Limits, and Pricing
Google Jules is available in multiple tiers:
Free
Essentials
Premium
Each plan has:
daily task limits
concurrency limits
execution time limits
All tasks are measured using a rolling 24-hour window.
Limits help keep workloads safe and predictable.
Security, Privacy, and Data Protection
Students and developers often worry about giving AI tools access to private code. Jules was built with strict safety rules:
Short-lived VMs (deleted after every session)
No training on private code
Explicit GitHub permission required
Isolated environments
Full logs and audit trails
This makes Jules safe to use even in academic or professional settings.
Simple Example Task for Students
Let’s see how a student might use Jules to fix a simple JavaScript project.
Task Prompt:
Fix the broken function in math.js and add two new tests.
Jules Plan (example):
1. Review math.js and identify failing logic.
2. Correct the arithmetic error in addNumbers().
3. Create tests in test/math.test.js.
4. Run npm test.
5. Provide diff.
Fixed Code Example
math.js
export function addNumbers(a, b) {
  return a + b; // corrected logic
}
math.test.js
import { addNumbers } from '../math.js';

test("adds positive numbers", () => {
  expect(addNumbers(2, 3)).toBe(5);
});

test("adds negative numbers", () => {
  expect(addNumbers(-2, -3)).toBe(-5);
});
Jules would:
implement this
run the tests
provide diff
open a pull request
This demonstrates how the agent handles tasks independently.
Conclusion
Google Jules marks a major shift in how developers interact with code. It is not just an assistant it is an autonomous coding agent capable of understanding tasks, planning solutions, running tests, and pushing results to GitHub.
For students, it offers a powerful way to learn modern development workflows. Instead of spending hours on repetitive tasks, you can focus on high-level problem-solving while Jules handles the routine work.
Whether you are refactoring, debugging, writing tests, updating dependencies, or exploring agentic AI for the first time Jules provides an efficient, secure, and transparent system to support your workflow.
If you're ready to experience the future of software development, explore Google Jules at:
Link: https://jules.google
Join the conversation
Sign in to share your thoughts and engage with other readers.
No comments yet
Be the first to share your thoughts!